
![]()

DERSLER
ArahWeave ile Etiket yapmak
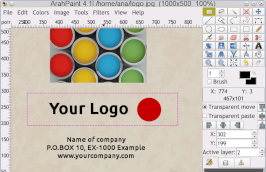
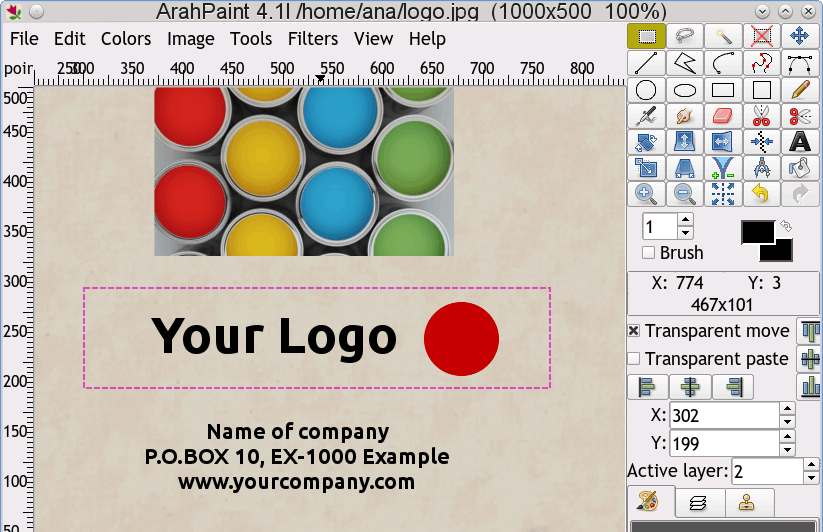
First you have to make the image for the label. Label will contain the logo with the name of the company. You can scan the business card to get the logo of the company. Load the scanned image in ArahPaint software. Then press the rectangular selection icon  and select the area of the logo with the mouse. Then activate the function Image > Crop to selection.
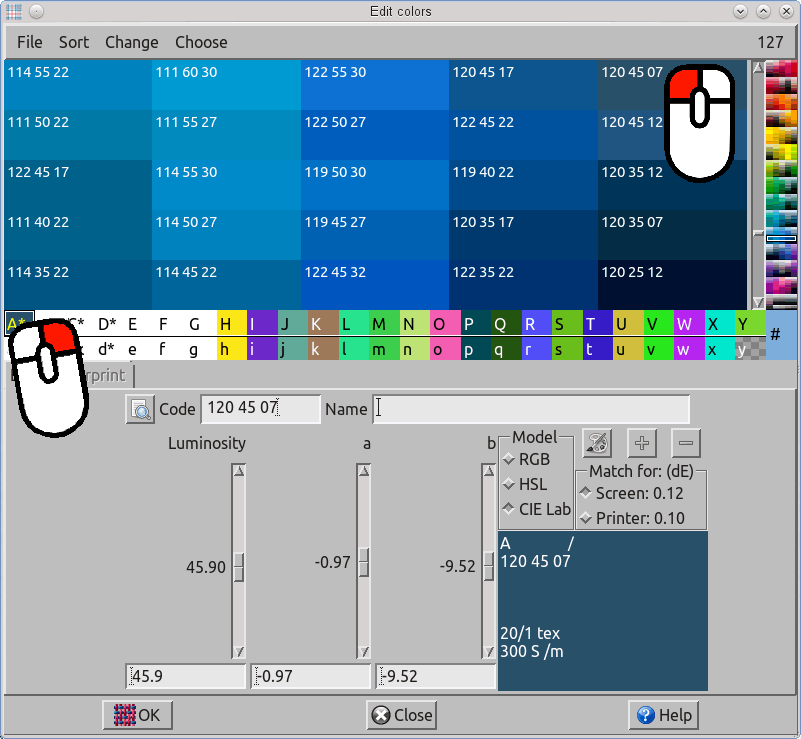
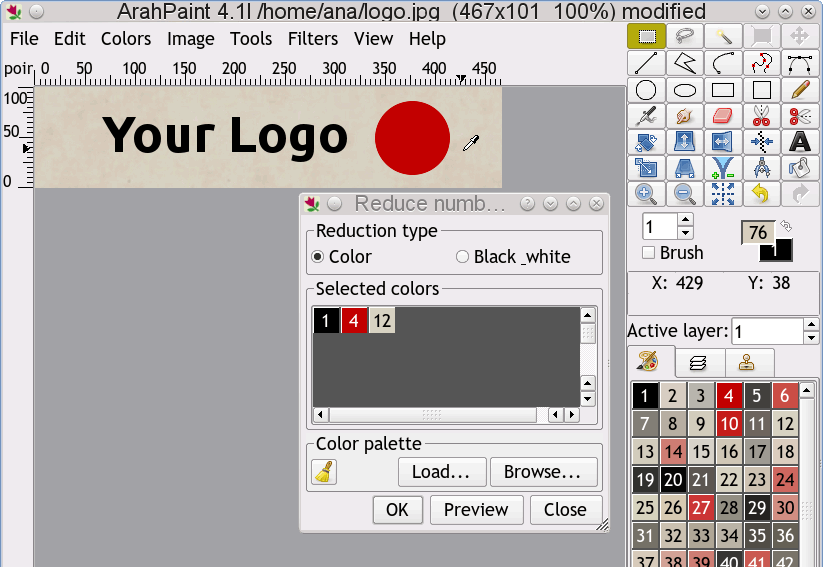
The you have to convert the image mode to indexed color mode by choosing Colors > Covert > 24->8. Then reduce the number of colors to 3. Choose Color > Reduce number of colors. By holding the Shift key on the keyboard, the mouse pointer will turn into a color picker tool. Click inside the red, white and black area in the image, to select these three colors and press OK. Make sure all the pixels in the letters are black and all the pixels in the circle are red, otherwise manually correct them.
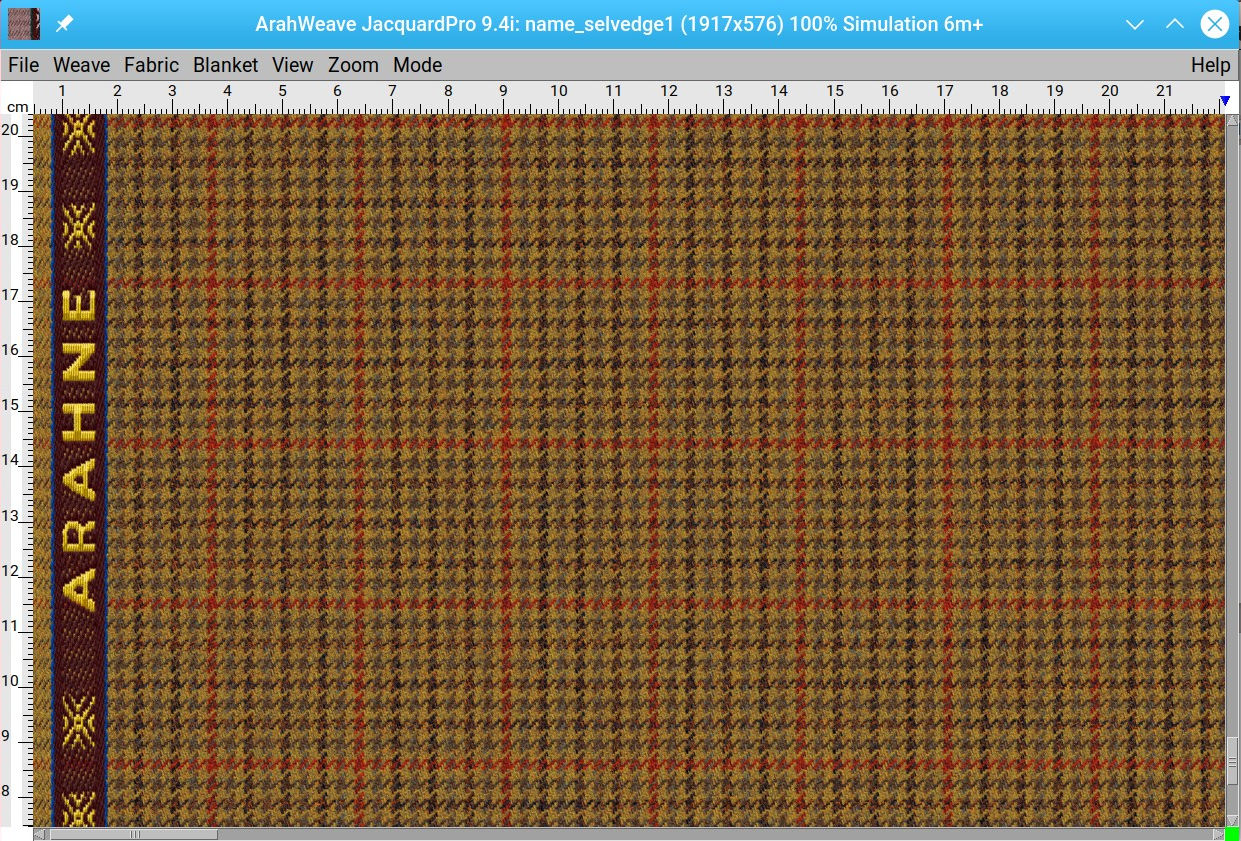
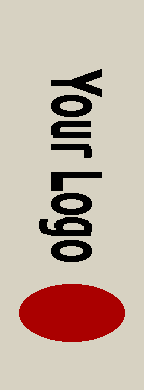
Rotate the image for 90 degrees. The label is going to be woven vertically.
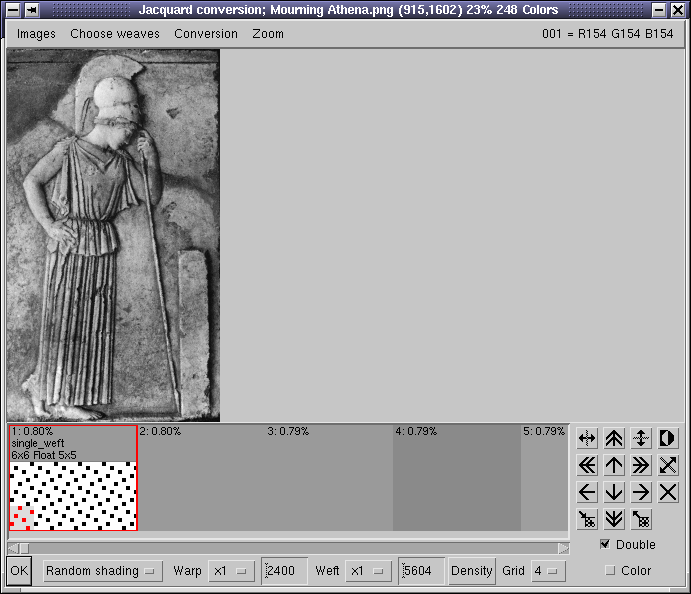
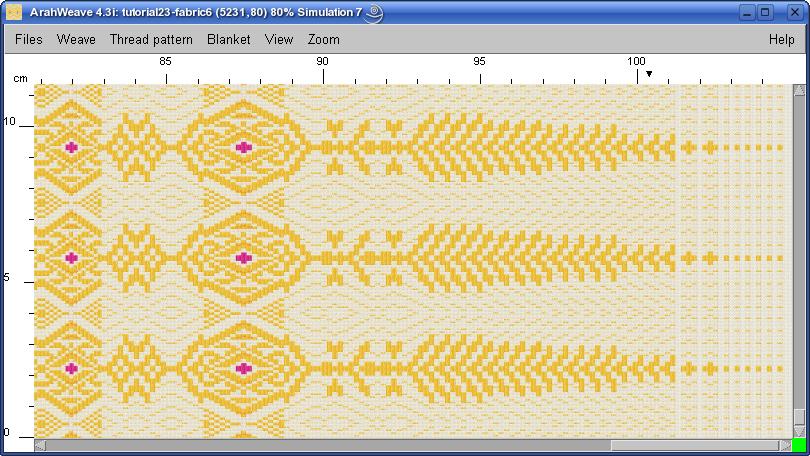
The size of the image should be calculated with respect to warp and weft density. Go to View > Repeat dimensions and enter the correct density. In our case it is 90 ends/cm in warp and 50 picks/cm in weft.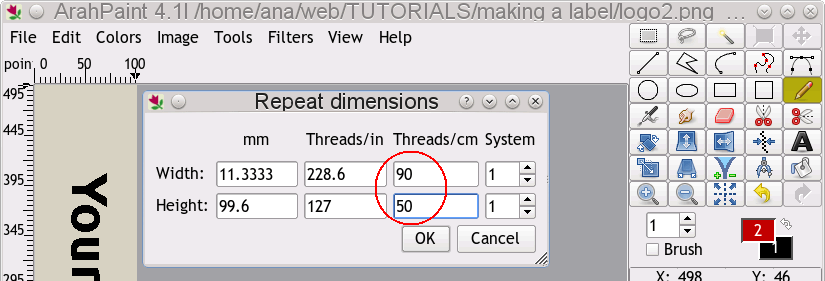
Etiketimizdeki çözgü sayısı (kenarsız) 144 ipliktir. Bu, görüntünün genişliğinin 144 piksel olduğu anlamına gelir. Görüntü > Görüntüyü yeniden boyutlandır ' a gidin, yeni genişlik olarak 144 girin ve sıklık düğmesine tıklayın. Program, kumaş sıklığına göre yüksekliği hesaplayacaktır, 391'dir. Sayıyı düzeltin, böylece kullanmak istediğiniz atkı sayısıyla bölünebilir. Üç atkı kullanacağız, bu yüzden doğru sayı 390 px'dir.
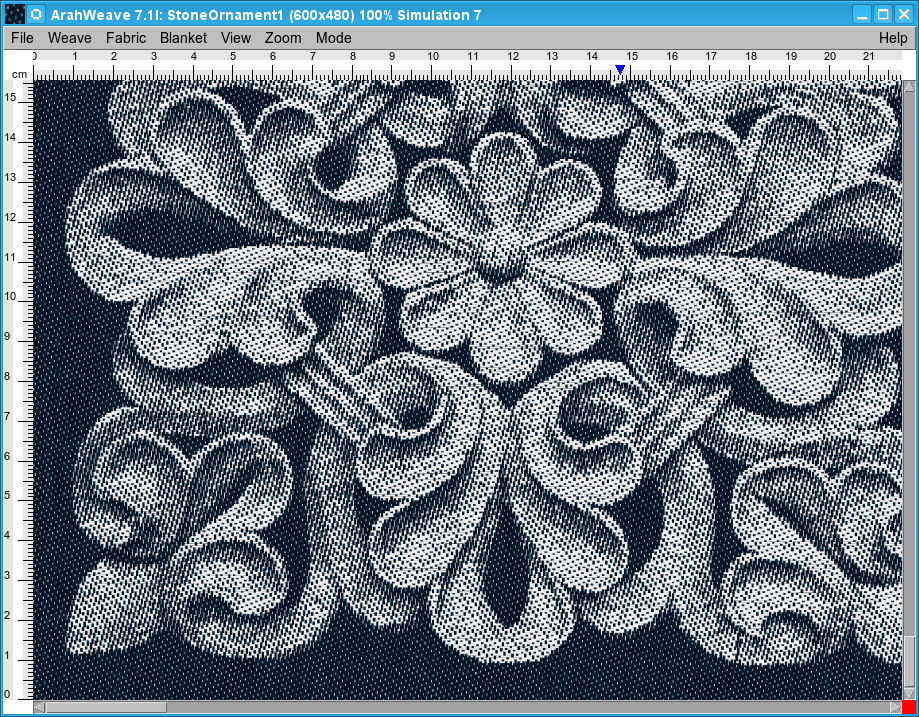
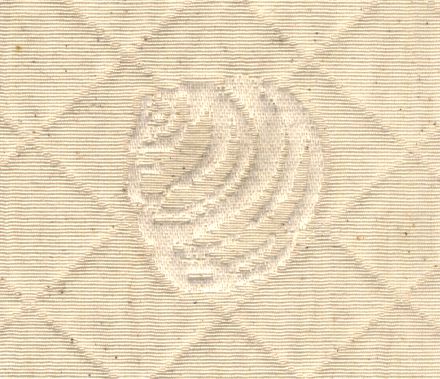
Bu, etiket imajımızın nasıl göründüğüdür. Jakar dönüşümüne hazırdır.
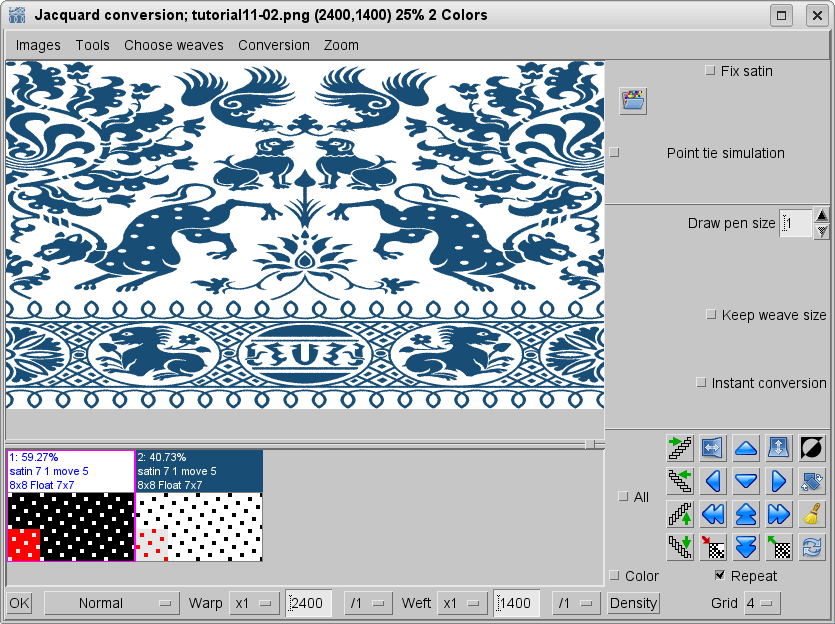
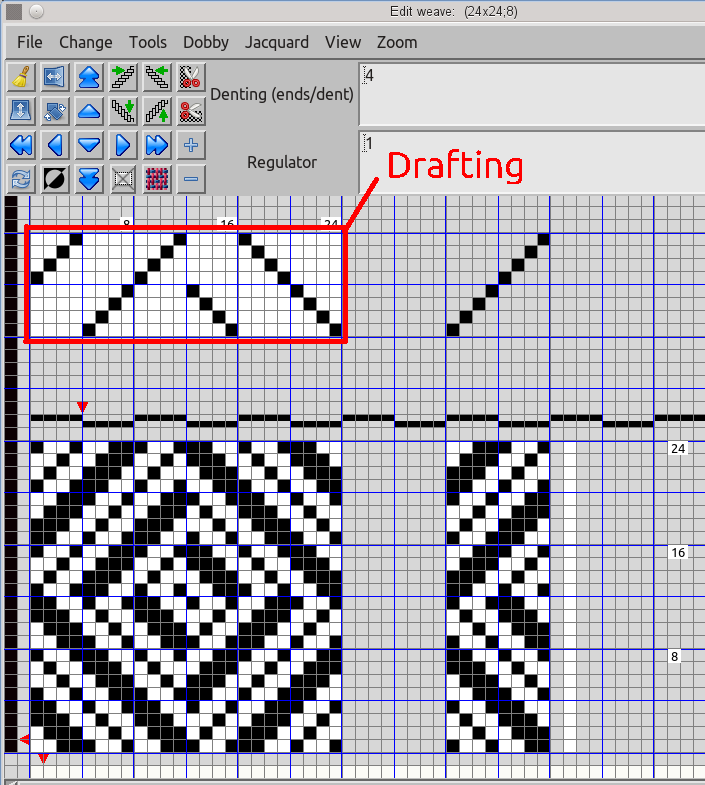
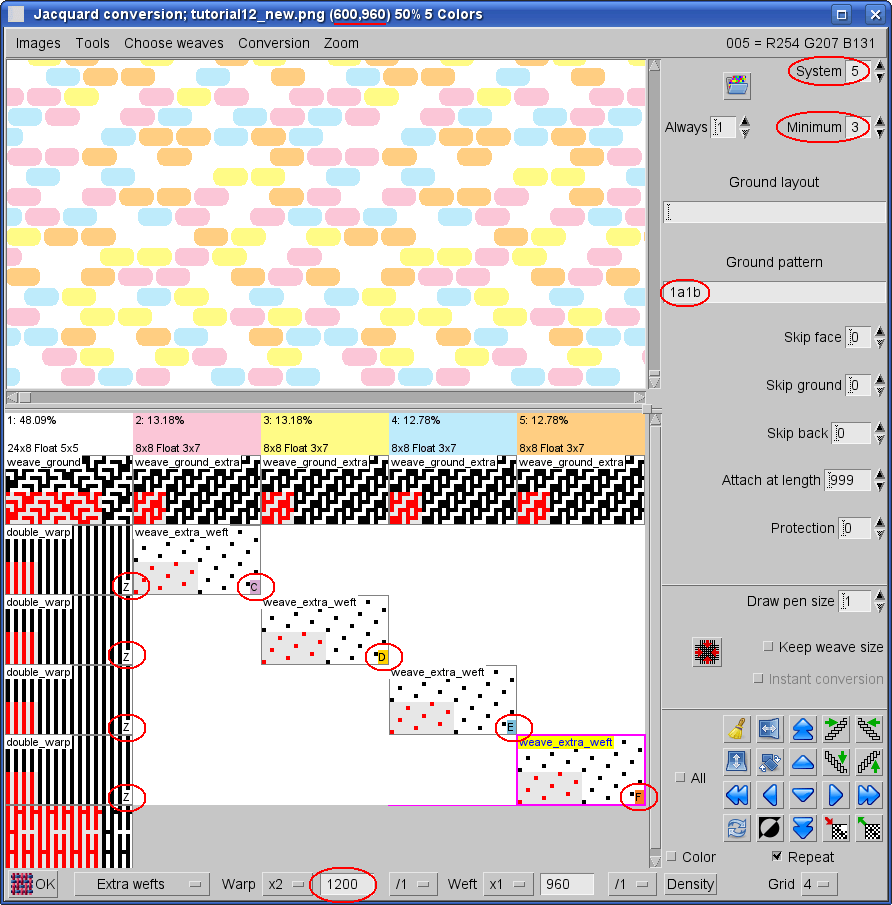
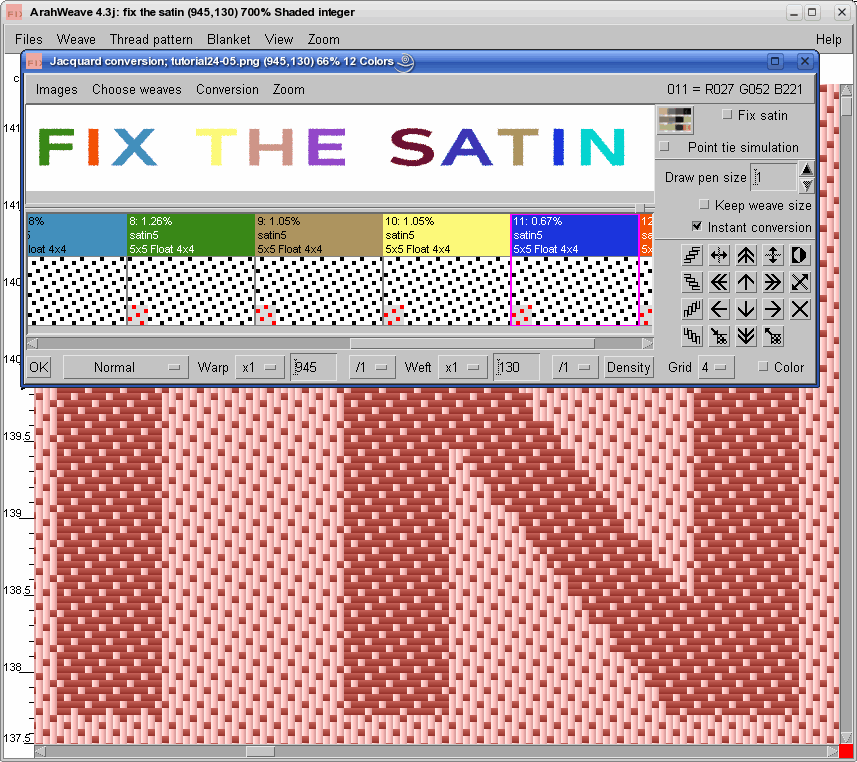
ArahWeave' yi açın ArahWeave' CAD software for weaving. Choose Örgü > Jakar dönüşümü'. A new window will open. Load the image from Images > Browse.. From the bottom left corner select İlave atkılar' as the type of the conversion. Set Sistem' to 3 since we will use three different wefts in this label: one for the ground, and two for extra wefts. Set Skip face to 3. This means that the program will not insert a weave point if the point would be closer than three threads to the inner border of the extra weft effect, in our case black letters and red circle. Set Skip back to 2. This means that weave points will not be inserted if the points are closer than two points to the outer border of the letters or circle. Set Clear length to 5. This means that weave points will not be inserted where the length of the warp effect is less than 5. We will get cleaner effects this way.
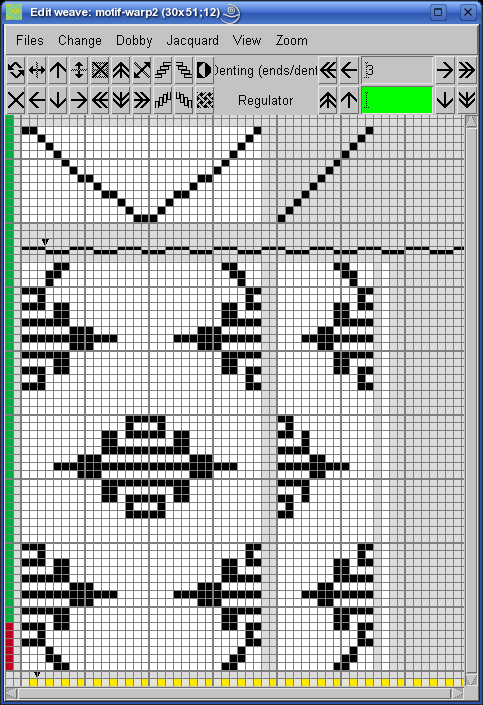
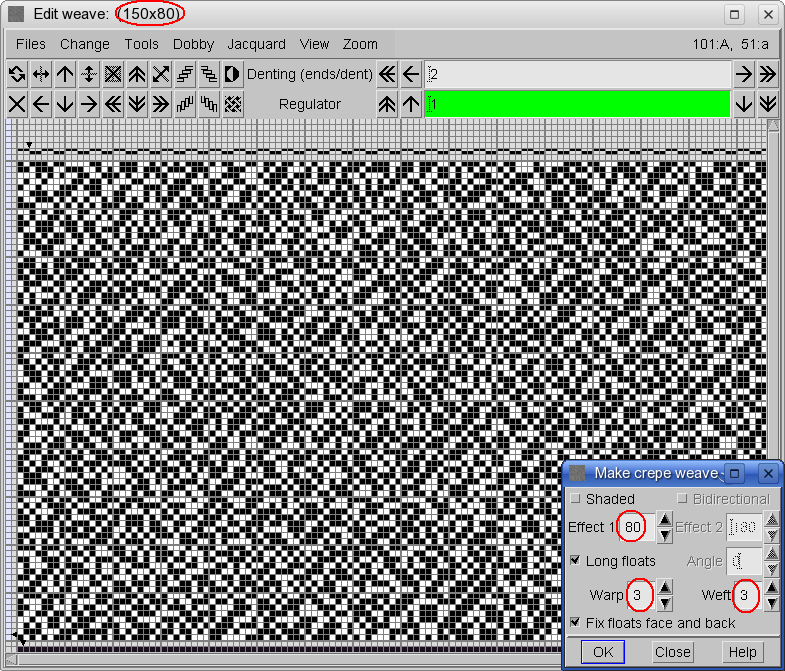
Now you have to load a proper weave for each weft: for ground weft use plain weave, for three extra wefts use Satin 8. For attachment wefts on the back side of the label you can use Satin 32. To enter weaves, double click inside the weave area and use shortcuts to insert weaves (2 = plain weave, 8 = satin 8). To make a satin 32, first enter a satin 8 and then enlarge it by pressing CTRL + 2.
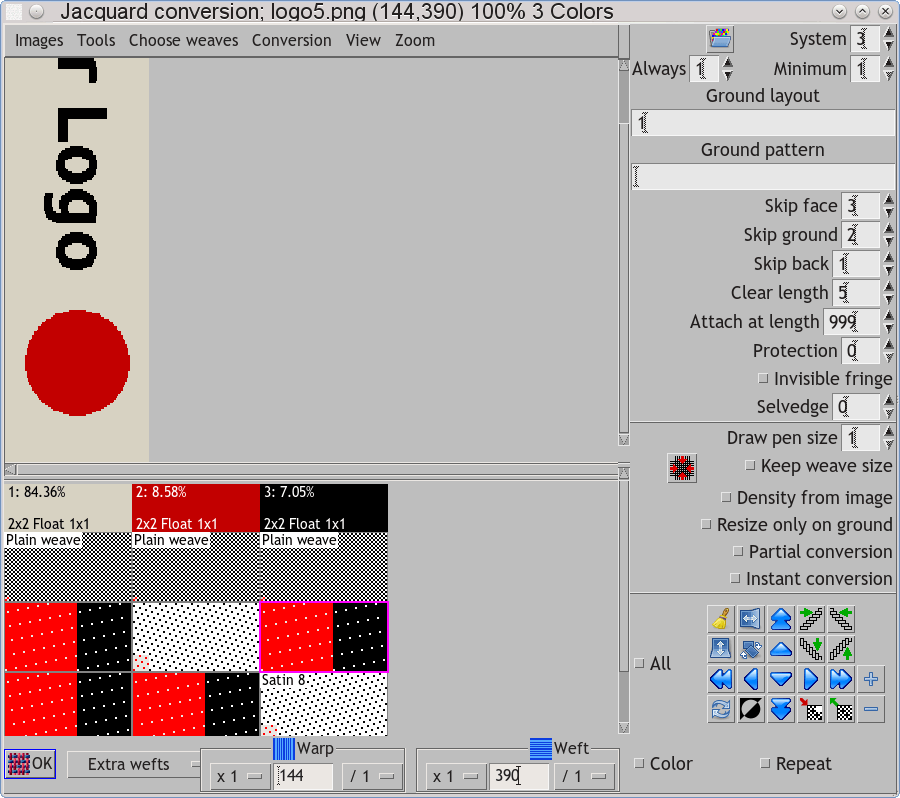
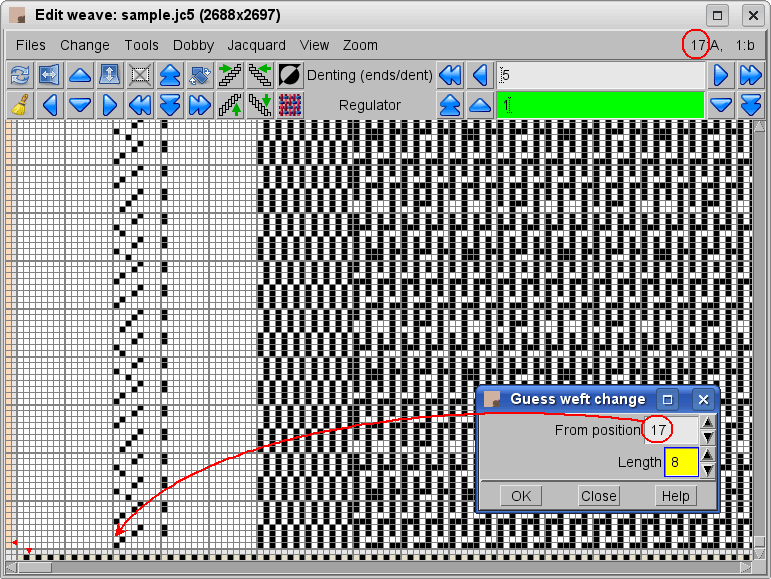
After you have loaded all weaves and set all the parameters, press Tamam' a tıklayın and you will get the jacquard weave. Program will multiply the weft size by 3, but will be smart enough not to insert weaves where they are not necessary. For this reason, we need to remove the unneeded wefts, which are floating across the full width of the fabric. Press the button Remove extra warps/wefts. At this point you will arrive at the final size of the weave. The program automatically writes the correct weft pattern and puts the regulator on the right positions.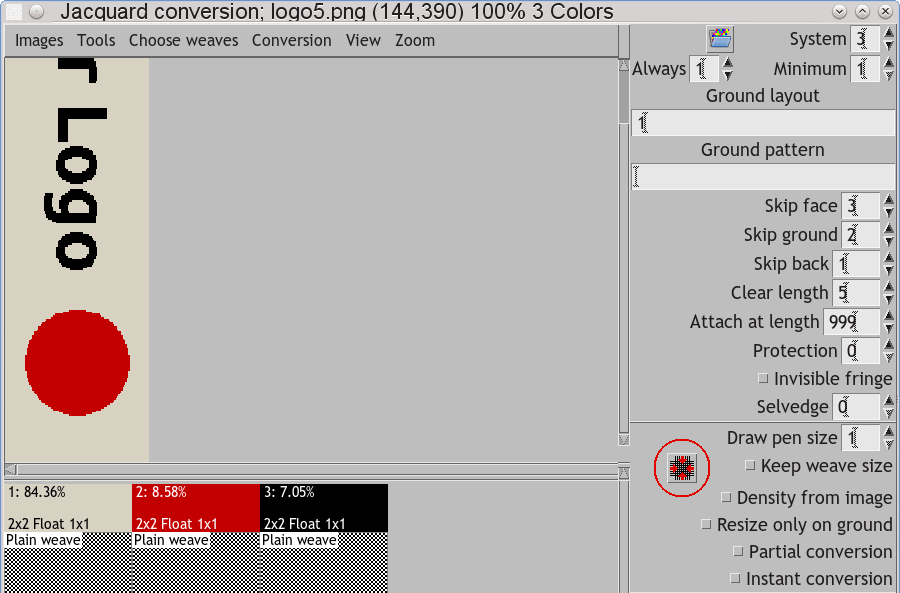
Şimdi örneğinizi dokuma için hazırlamak zorundasınız. Örgü > Üretim için kartları kaydet' i seçip, jakar ve tezgahınıza göre gerekli düzenlemeleri yapmalısınız. Tezgahınızın özelliklerine göre doğru kanca sayısını ve doğru bit' te regülatör ile Atkı baytı ' with the regulator (stop motion) on the correct hook, according to the specifications of your loom.
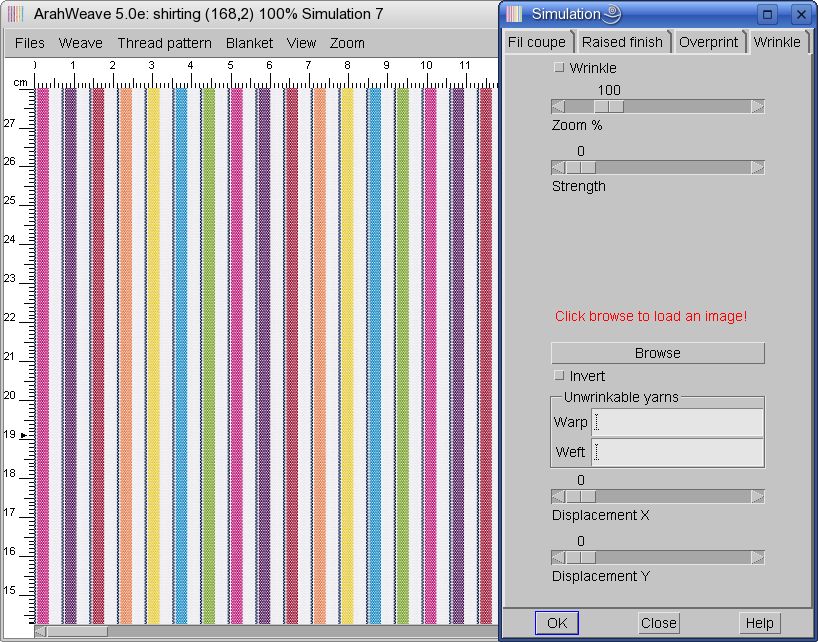
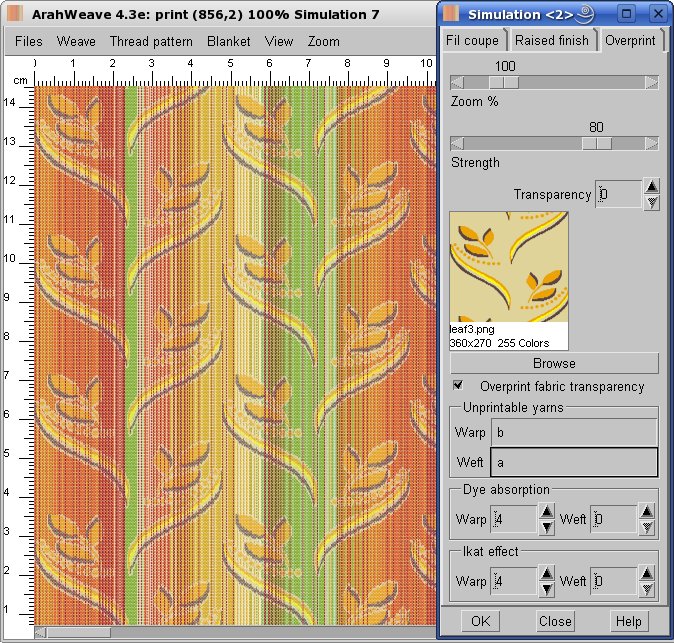
Simülasyonu elde etmek için, Sıklık > Teknik veriden alınan sıklık kutucuğunu işaretleyin ve Kumaş > Tüketim parametrelerini doğru olarak girin.
